
When you first open LibreOffice you are presented with recently saved documents. To create a new Calc spreadsheet, click Calc Spreadsheet under Create on the left side.
If you want to open a spreadsheet on your computer click Open File at the top left.

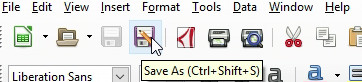
Calc has the standard menus you find in most applications: Open, File, View and Help along with some that are unique to speadsheets. In the File Menu you can open, save and print your spreadsheet document. When you save a document in the native format it has the extention ods. A Calc document can also be exported as a PDF, which is useful for sharing with others who might not have access to LibreOffice. LibreOffice is capable of opening files from Microsoft excel and other spreadsheet applications, though some formatting might be lost. Under the menu are quick access buttons to some of the most used menu items. These have help tips that pop up when you hover the mouse pointer over them.
The formatting toolbar lets you select fonts, background and font colors and align text. There are buttons for formatting numbers and setting the number of decimal places that display. You can also set up conditional formatting for the cells here.

Under the formatting toolbar is the formula bar, this is where you can view and edit formulas in the cells.
 On the formula bar there is also a button for the function wizard which will guide you in creating functions for your calculations:

A spreadsheet is divided into columns and rows of cells. the columns are represented by letters displayed on the top, and the rows by numbers down the left side.
To select a cell, click on it. A black rectangle surronds the cell. to select a range of cells, you hold the left mouse button down and drag down or across the cells. the range you select will be highlighted in a light blue color.
To change the width of the columns, Hover the mouse pointer over where the columns meet . When you see the double arrow, drag to adjust the width.

Sometimes you might have a cell in the spreadsheet thats not wide enough to display it's contents. This will be indicated with a red arrow on the right side of the cell if the cell contains text, and with ### if the cell contains a numeric value:
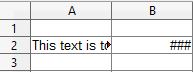
If this happens make the columns wider and the amount will display when it has enough room.
The rows heights can be adjusted in the same way, hover the mouse pointer over where the rows meet and drag to adjust the height.
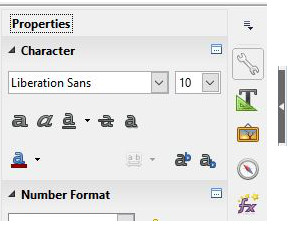
On the right side of the speadsheet halfway down the side, there's an arrow which opens a properties panel with more options for formatting, functions and a gallery of clip art you can place in your document.
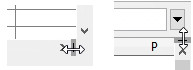
The spreadsheet window can be split horizonally or vertically, so different parts of the document can be viewed at once. This is handy for dealing with a large document.
The splitting lines are at the lower right corner of the sheet next to the horizontal scrollbar, and at the top right corner next to the vertical scrollbar. Hover the mouse pointer over a split line until the double arrow appears then drag the window open.
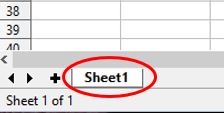
At the bottom of the spreadsheet window there are tabs for individual sheets. To create a new spreadsheet click the plus sign at the lower left of the document, below the scrollbar:

The two arrows next to the plus sign will reveal hidden sheets when there are too many to display at once. To name a spreadsheet, double-click on the tab at the bottom of the sheet:
In the dialog which pops up, rename the sheet. Alternatively you can right-click the tab to rename, as well as other options such as delete, move and create new sheets.
| Operation | Key |
|---|---|
| Copy | Ctrl c |
| Paste | Ctrl v |
| Select ALL | Ctrl a |
| Undo | Ctrl z |
| Redo | Ctrl y |
| Remove Formatting | Ctrl m |